
Visualizing Distance: A Guide to Creating 60-Mile Radius Maps
Related Articles: Visualizing Distance: A Guide to Creating 60-Mile Radius Maps
Introduction
With enthusiasm, let’s navigate through the intriguing topic related to Visualizing Distance: A Guide to Creating 60-Mile Radius Maps. Let’s weave interesting information and offer fresh perspectives to the readers.
Table of Content
Visualizing Distance: A Guide to Creating 60-Mile Radius Maps

Maps are powerful tools for understanding spatial relationships. They provide a visual representation of geographical areas, enabling us to analyze distances, identify locations, and plan routes. A 60-mile radius map, in particular, offers a valuable perspective for various applications, from exploring potential travel destinations to analyzing market reach or identifying potential service areas.
Understanding the Purpose:
Before delving into the creation of a 60-mile radius map, it’s essential to understand its intended use. What information do you aim to convey? Are you looking to identify locations within a specific distance from a central point, visualize a service area, or explore potential travel options? Defining the purpose helps determine the necessary map features and data.
Tools and Techniques for Creating a 60-Mile Radius Map:
Several tools and techniques can be employed to create a 60-mile radius map, each offering unique advantages and functionalities:
1. Online Mapping Services:
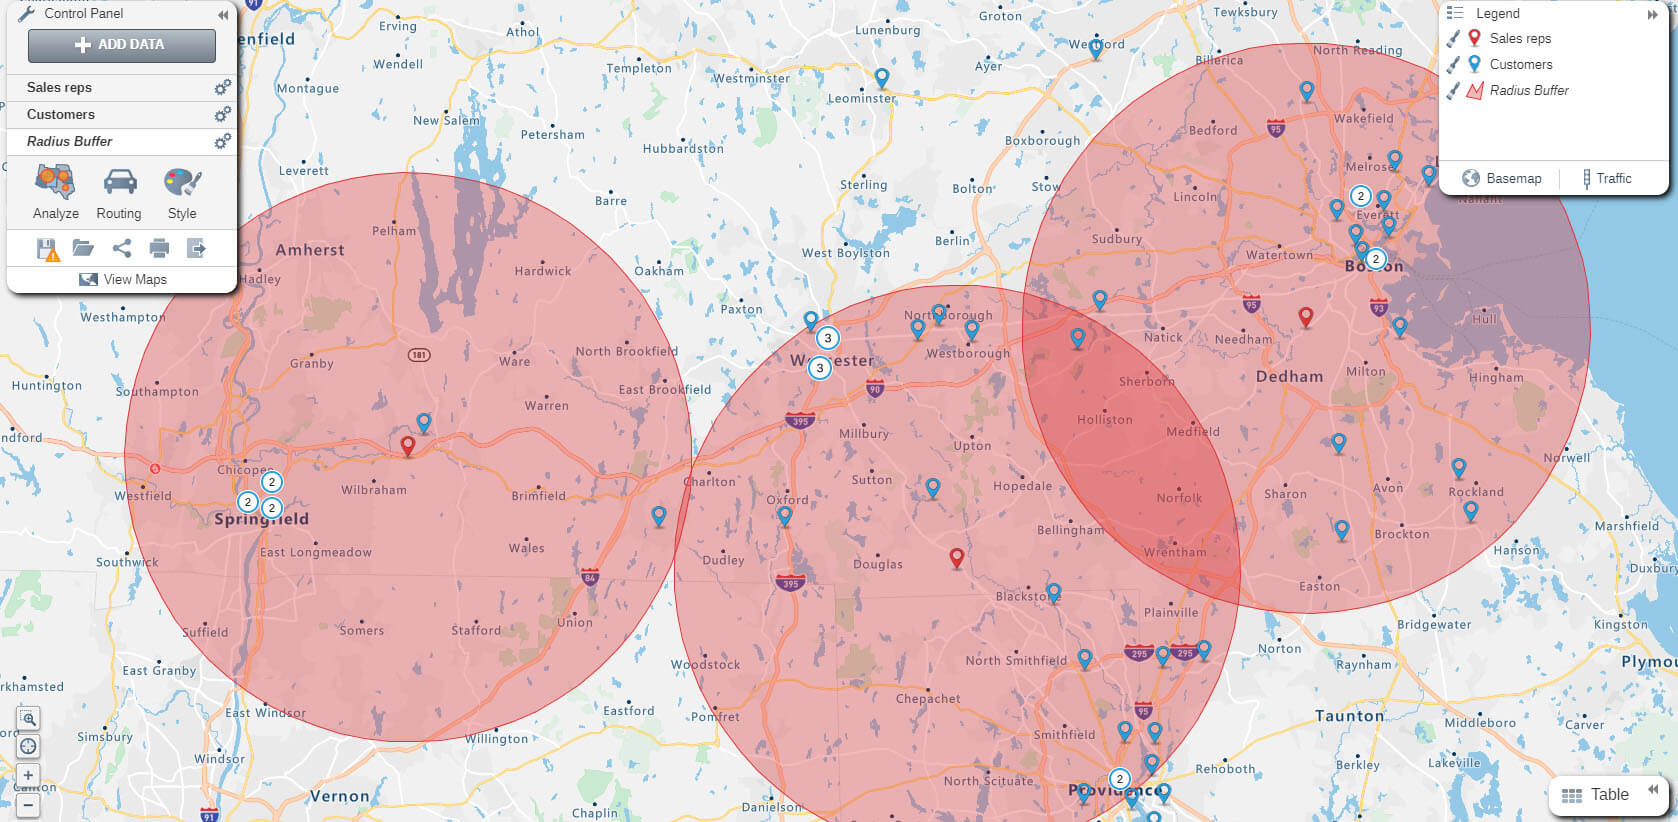
Online mapping services like Google Maps, Bing Maps, and MapQuest provide user-friendly interfaces for creating radius maps. These platforms offer interactive tools to draw circles around a designated central point, enabling users to visualize the area encompassed within a specified radius.
- Advantages: Ease of use, intuitive interfaces, access to comprehensive map data.
- Disadvantages: Limited customization options, potential reliance on internet connectivity.
2. Geographic Information Systems (GIS) Software:
GIS software, such as ArcGIS and QGIS, provides advanced tools for creating and analyzing spatial data. These platforms offer powerful capabilities for generating radius maps, including the ability to overlay data layers, perform spatial analysis, and create highly customizable maps.
- Advantages: Extensive customization options, advanced spatial analysis capabilities, integration with other data sources.
- Disadvantages: Steeper learning curve, potential cost associated with software licenses.
3. Spreadsheet Software with Geocoding Functions:
Spreadsheet software like Microsoft Excel or Google Sheets, combined with geocoding functions, can be used to create radius maps. Geocoding converts addresses into geographical coordinates, allowing you to plot locations on a map and calculate distances.
- Advantages: Accessibility, familiarity with spreadsheet software, potential for data manipulation and analysis.
- Disadvantages: Limited map customization options, reliance on accurate geocoding data.
4. Drawing and Design Software:
Software designed for drawing and design, such as Adobe Illustrator or Inkscape, can also be used to create radius maps. These platforms offer versatile tools for drawing circles, adding annotations, and customizing the visual presentation.
- Advantages: High level of design control, flexibility in creating visually appealing maps.
- Disadvantages: Requires knowledge of drawing and design software, potentially time-consuming.
Key Steps in Creating a 60-Mile Radius Map:
Regardless of the chosen tool, creating a 60-mile radius map involves the following general steps:
-
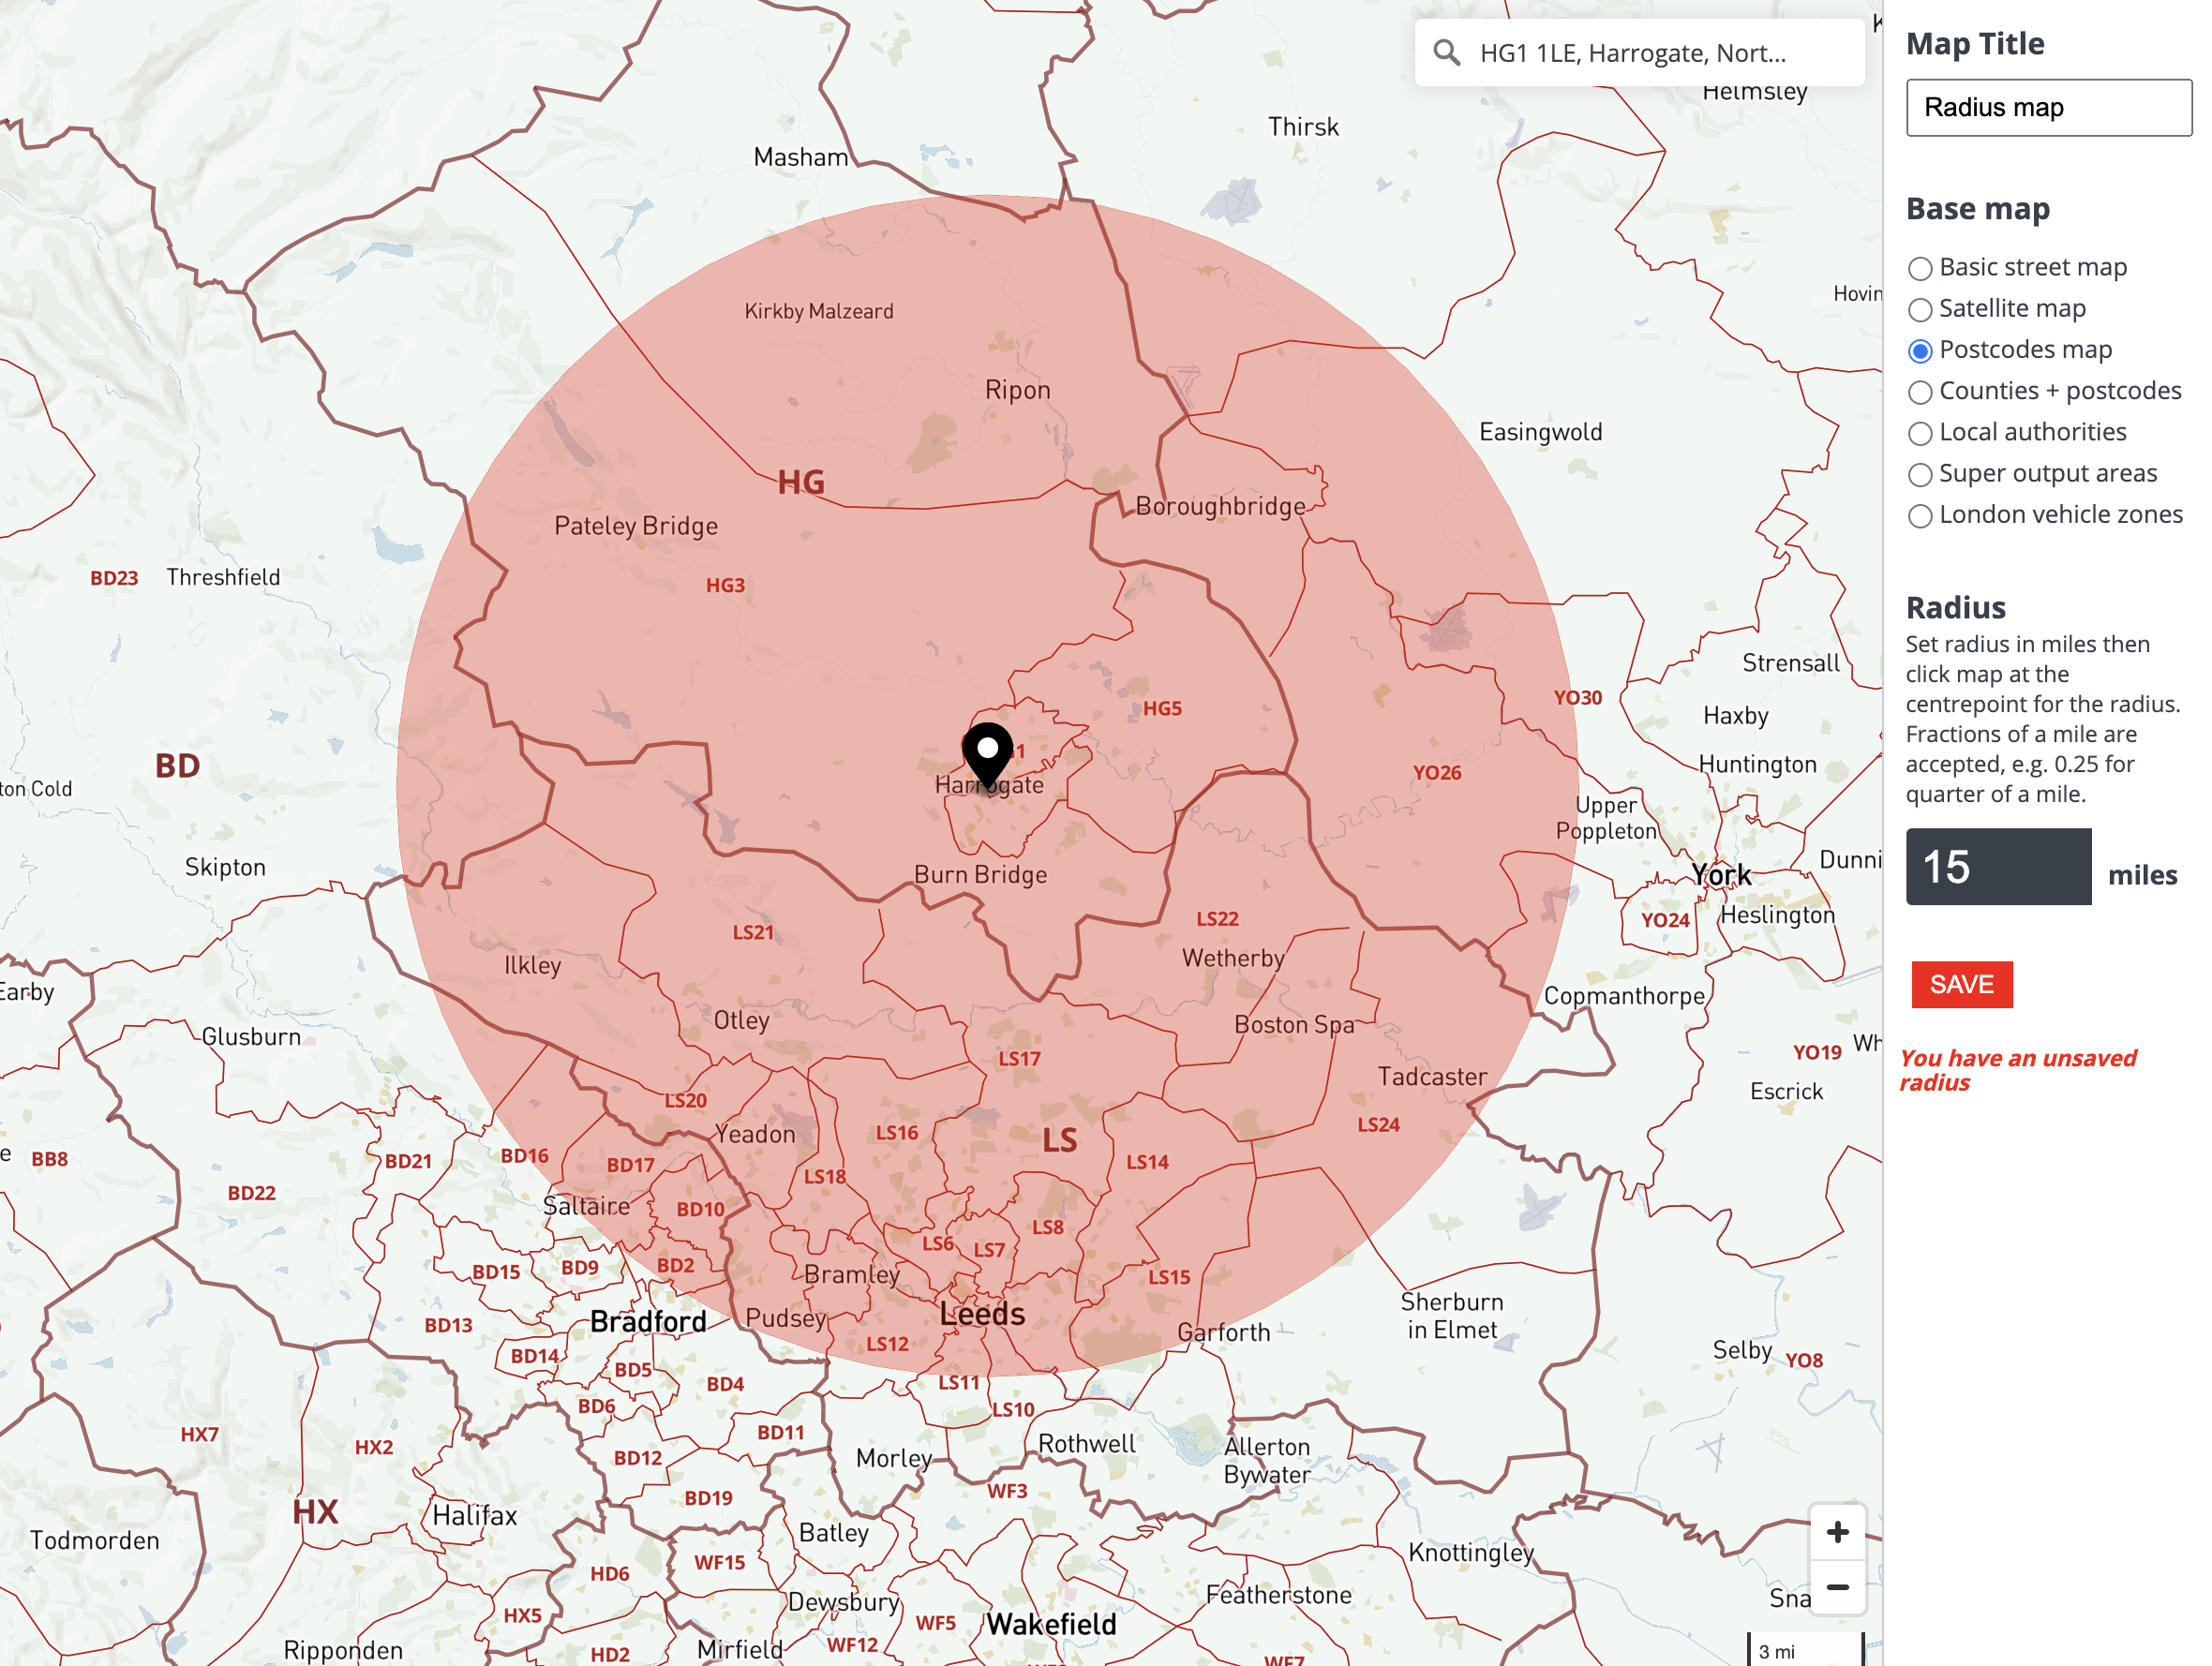
Define the Central Point: Identify the location from which you want to measure the 60-mile radius. This could be a specific address, a landmark, or a geographical coordinate.
-
Set the Radius: Specify the desired radius, in this case, 60 miles.
-
Select a Map Projection: Choose an appropriate map projection to ensure accurate representation of distances and areas. For local maps, a planar projection like the UTM system might be suitable. For larger areas, a conic projection could be more appropriate.
-
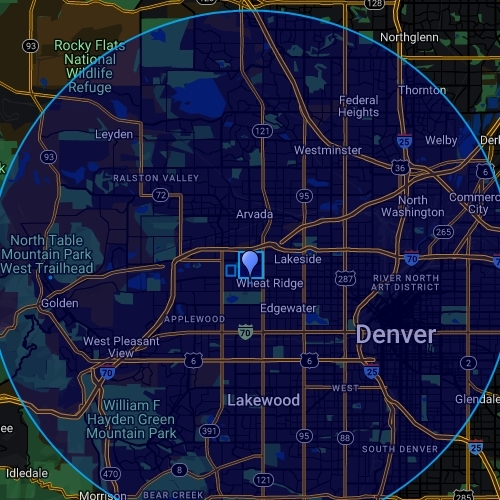
Draw the Radius Circle: Use the chosen tool to draw a circle with a 60-mile radius around the central point.
-
Add Additional Map Features: Enhance the map by adding relevant features, such as roads, landmarks, boundaries, or data layers.
-
Customize the Visual Presentation: Adjust the map’s appearance to suit your needs. You can change colors, fonts, symbols, and other visual elements to improve clarity and readability.
-
Export and Share: Save the map in a suitable format, such as a PDF, image, or geospatial file, and share it with your audience.
Applications of 60-Mile Radius Maps:
60-mile radius maps find applications across various domains:
1. Business and Marketing:
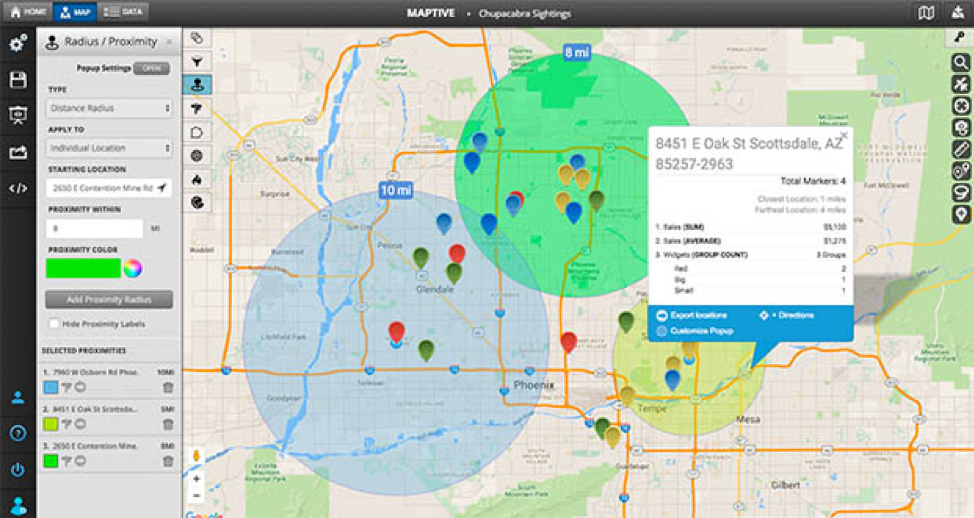
- Market Analysis: Identify potential customer base within a specific geographic area.
- Service Area Mapping: Define the coverage area for services like delivery, repair, or healthcare.
- Location Planning: Evaluate the feasibility of new business locations based on proximity to target customers.
2. Transportation and Logistics:
- Route Planning: Determine travel time and distance for transportation routes.
- Delivery Network Optimization: Analyze delivery areas and optimize routes for efficiency.
- Traffic Analysis: Identify areas with high traffic density within a specified radius.
3. Emergency Management and Disaster Response:
- Evacuation Planning: Define evacuation zones and routes for natural disasters or emergencies.
- Resource Allocation: Identify areas requiring immediate assistance and allocate resources accordingly.
- Incident Response: Track the spread of incidents and deploy emergency personnel effectively.
4. Environmental Studies:
- Impact Assessment: Analyze the potential impact of development projects on surrounding areas.
- Habitat Mapping: Identify and map critical wildlife habitats within a specified radius.
- Pollution Monitoring: Track the spread of pollutants and identify areas with high concentrations.
5. Personal Planning:
- Travel Planning: Explore potential destinations within a specific driving distance.
- Real Estate Search: Identify homes or properties within a desired radius from a central location.
- Outdoor Recreation: Locate hiking trails, camping spots, or other recreational activities within a specified area.
FAQs About Creating 60-Mile Radius Maps:
1. What is the best tool for creating a 60-mile radius map?
The best tool depends on your specific needs and technical expertise. Online mapping services are user-friendly and accessible, while GIS software offers advanced customization and analysis capabilities. Spreadsheet software with geocoding functions provides an alternative for data-driven maps, and drawing software allows for creative visual presentations.
2. How accurate are 60-mile radius maps?
The accuracy of a 60-mile radius map depends on the chosen map projection, the quality of the underlying data, and the method used to calculate the radius. Planar projections, like the UTM system, are generally more accurate for local areas, while conic projections are better suited for larger regions.
3. Can I add multiple radii to a map?
Yes, most mapping tools allow you to add multiple radii to a map. This is useful for visualizing different levels of service areas, travel distances, or zones of influence.
4. What are some common mistakes to avoid when creating a 60-mile radius map?
Common mistakes include using an inappropriate map projection, neglecting to consider the curvature of the Earth, and relying on inaccurate data sources. It’s important to choose a projection that accurately represents the area of interest and to use reliable data to ensure the map’s accuracy.
5. How can I make my 60-mile radius map more visually appealing?
You can enhance the map’s visual appeal by using clear colors, legible fonts, and informative symbols. Adding relevant map features, such as roads, landmarks, and boundaries, can also improve the map’s clarity and understanding.
Tips for Creating Effective 60-Mile Radius Maps:
- Clearly define the purpose of the map.
- Choose a suitable map projection for the area of interest.
- Use accurate data sources for the central point and radius calculation.
- Add relevant map features to provide context and information.
- Customize the visual presentation to enhance clarity and readability.
- Consider the target audience and tailor the map’s complexity accordingly.
Conclusion:
60-mile radius maps provide a valuable tool for visualizing distances, analyzing spatial relationships, and making informed decisions. By understanding the purpose of the map, selecting appropriate tools and techniques, and following best practices, you can create effective radius maps that effectively convey information and support various applications. Whether for business planning, transportation analysis, emergency response, or personal use, 60-mile radius maps offer a powerful visual representation of spatial relationships within a defined area.
![Radius Map [Tool For Drawing & Creation] Distance & Driving Tim - Smappen](https://www.smappen.com/wp-content/uploads/2023/05/radiusmap-1024x671.jpg)
![Radius Map [Tool For Drawing & Creation] Distance & Driving Tim - Smappen](https://www.smappen.com/wp-content/uploads/2023/02/radius-map-1024x635.jpg)

Closure
Thus, we hope this article has provided valuable insights into Visualizing Distance: A Guide to Creating 60-Mile Radius Maps. We appreciate your attention to our article. See you in our next article!