
Visualizing Proximity: Power BI’s Map Radius Feature for Enhanced Data Exploration
Related Articles: Visualizing Proximity: Power BI’s Map Radius Feature for Enhanced Data Exploration
Introduction
With enthusiasm, let’s navigate through the intriguing topic related to Visualizing Proximity: Power BI’s Map Radius Feature for Enhanced Data Exploration. Let’s weave interesting information and offer fresh perspectives to the readers.
Table of Content
Visualizing Proximity: Power BI’s Map Radius Feature for Enhanced Data Exploration

Power BI, a robust business intelligence platform, offers a diverse range of tools for data visualization and analysis. One such tool, the map radius feature, empowers users to visualize data spatially, emphasizing proximity and spatial relationships. This capability proves invaluable in various scenarios, from identifying customer clusters within a city to analyzing the impact of a natural disaster on surrounding areas.
Understanding the Power of Spatial Visualization
Spatial data, data that has a geographical location, holds immense value in understanding patterns and trends. While traditional charts and graphs provide insights into data relationships, they often lack the context of physical location. This is where spatial visualization, and specifically the map radius feature in Power BI, comes into play.
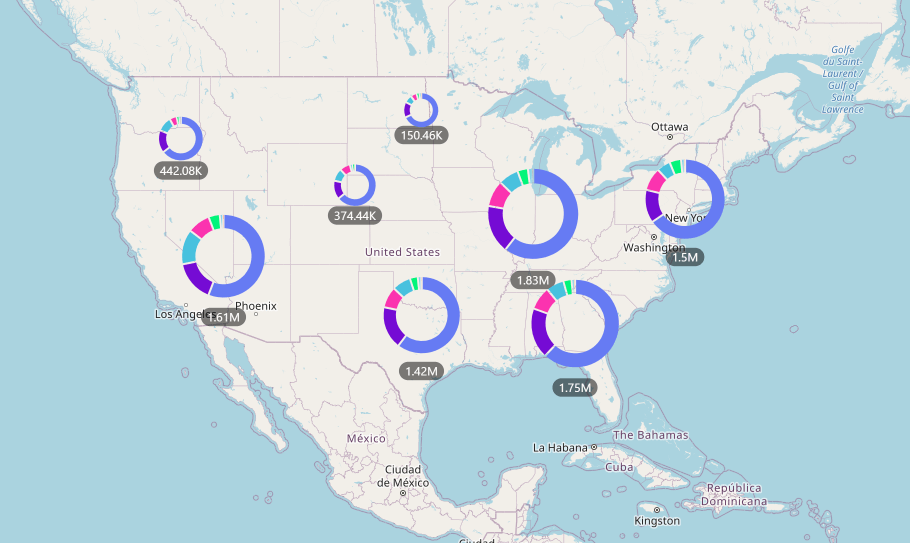
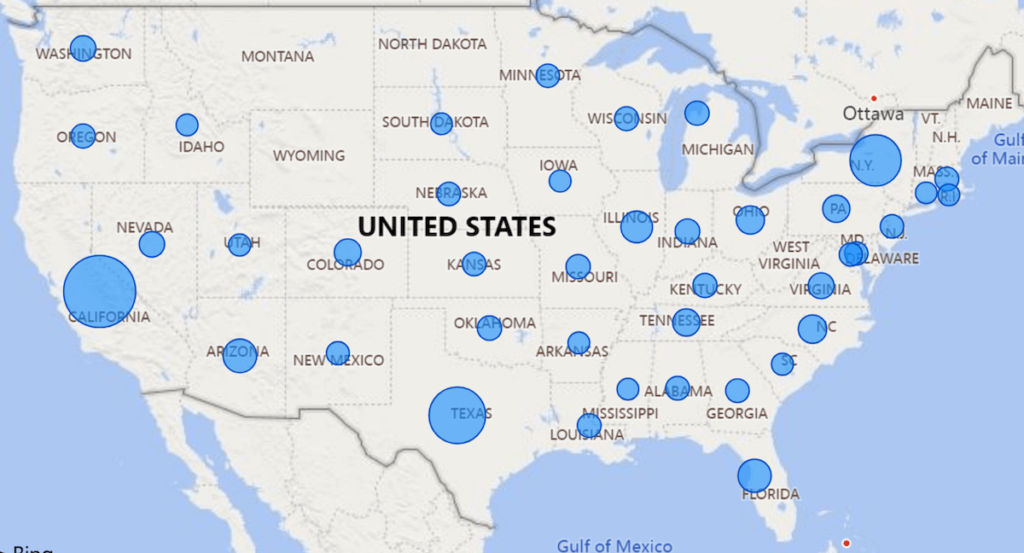
The map radius feature allows users to define a circular area around a specific point on a map. This area, known as a buffer, can be customized in terms of size, color, and transparency. Data points within this buffer are highlighted, enabling users to visually identify and analyze data related to the defined location.
Applications of Map Radius in Power BI
The map radius feature finds application in a wide array of fields, providing valuable insights for diverse business and analytical needs:
-
Market Analysis and Customer Segmentation: Businesses can leverage the map radius feature to identify customer clusters within a specific geographic area. This information can be used to tailor marketing campaigns, optimize store locations, and understand customer demographics within a defined radius.
-
Location-Based Services: Companies offering location-based services, such as delivery, ride-sharing, or emergency response, can use the map radius feature to analyze service coverage, optimize routing, and understand the density of service requests in specific areas.
-
Environmental Studies and Disaster Response: Environmental researchers and disaster relief organizations can use the map radius feature to visualize the impact of natural disasters, analyze the spread of pollutants, or monitor the distribution of resources in affected areas.
-
Real Estate and Property Analysis: Real estate professionals can use the map radius feature to identify properties within a specific distance from amenities, transportation hubs, or other points of interest. This information can be used to assess property values, identify potential investment opportunities, and understand market trends.
-
Healthcare and Public Health: The map radius feature can be used to visualize the distribution of healthcare facilities, identify areas with high disease prevalence, or analyze the impact of public health initiatives within specific geographic regions.
Steps to Implement the Map Radius Feature in Power BI
Implementing the map radius feature in Power BI is straightforward and involves a few simple steps:
-
Prepare Data: Ensure your dataset includes geographical coordinates (latitude and longitude) for the locations you wish to analyze.
-
Create a Map Visual: Select the map visual from the Power BI visualization pane.
-
Add Data Points: Add the appropriate fields to the visual to represent your locations on the map.
-
Enable Radius Feature: Locate the "Radius" option within the visual’s formatting pane.
-
Customize Radius: Specify the desired radius size, color, and transparency for the buffer.
-
Filter Data: Use filters to focus on specific data points or locations within the defined radius.
Benefits of Using the Map Radius Feature in Power BI
The map radius feature in Power BI offers numerous benefits for data visualization and analysis:
-
Enhanced Data Exploration: The feature allows for a more intuitive and interactive exploration of spatial data, enabling users to quickly identify trends and patterns within a defined area.
-
Improved Decision-Making: By visualizing data in a spatial context, users can gain a deeper understanding of their data, leading to more informed and strategic decisions.
-
Effective Communication: The map radius feature provides a powerful tool for communicating spatial insights to stakeholders, presenting information in a clear and visually compelling manner.
-
Increased Efficiency: The feature simplifies the process of analyzing spatial data, saving time and effort compared to traditional methods.
FAQs about the Map Radius Feature in Power BI
Q: Can I customize the shape of the buffer?
A: Currently, the map radius feature only supports circular buffers. However, other visualization tools may offer more flexibility in terms of buffer shapes.
Q: Can I create multiple radii around different points?
A: Yes, you can create multiple radii around different points on the map. This allows for comparing data within different areas or analyzing the relationships between various locations.
Q: Can I use the map radius feature with other Power BI visuals?
A: The map radius feature is specifically designed for use with the map visual in Power BI. However, you can combine the map visual with other visuals to create more complex and insightful dashboards.
Q: Are there any limitations to the map radius feature?
A: The map radius feature may have limitations depending on the specific data and the capabilities of the Power BI platform. It’s important to consider these limitations when using the feature.
Tips for Using the Map Radius Feature Effectively
-
Use Clear and Concise Labels: Label your data points and buffers with clear and concise information to enhance readability and understanding.
-
Choose Appropriate Colors and Transparency: Use colors and transparency levels that effectively highlight data points within the buffer while maintaining clarity and visual appeal.
-
Experiment with Radius Sizes: Experiment with different radius sizes to find the optimal size for your analysis and data visualization needs.
-
Combine with Other Visuals: Combine the map radius feature with other Power BI visuals to create more comprehensive and insightful dashboards.
Conclusion
The map radius feature in Power BI empowers users to visualize and analyze spatial data in a compelling and insightful way. This feature allows users to define and highlight areas of interest, enabling them to identify patterns, trends, and relationships within a defined geographic context. By leveraging the map radius feature, users can gain a deeper understanding of their data, make more informed decisions, and effectively communicate spatial insights to stakeholders. As Power BI continues to evolve, the map radius feature will likely become even more powerful and versatile, offering even greater opportunities for data exploration and analysis in the future.


Closure
Thus, we hope this article has provided valuable insights into Visualizing Proximity: Power BI’s Map Radius Feature for Enhanced Data Exploration. We hope you find this article informative and beneficial. See you in our next article!